Autoblock Knot for Rappelling: How the Backup Works and Its Limits
Published How we research
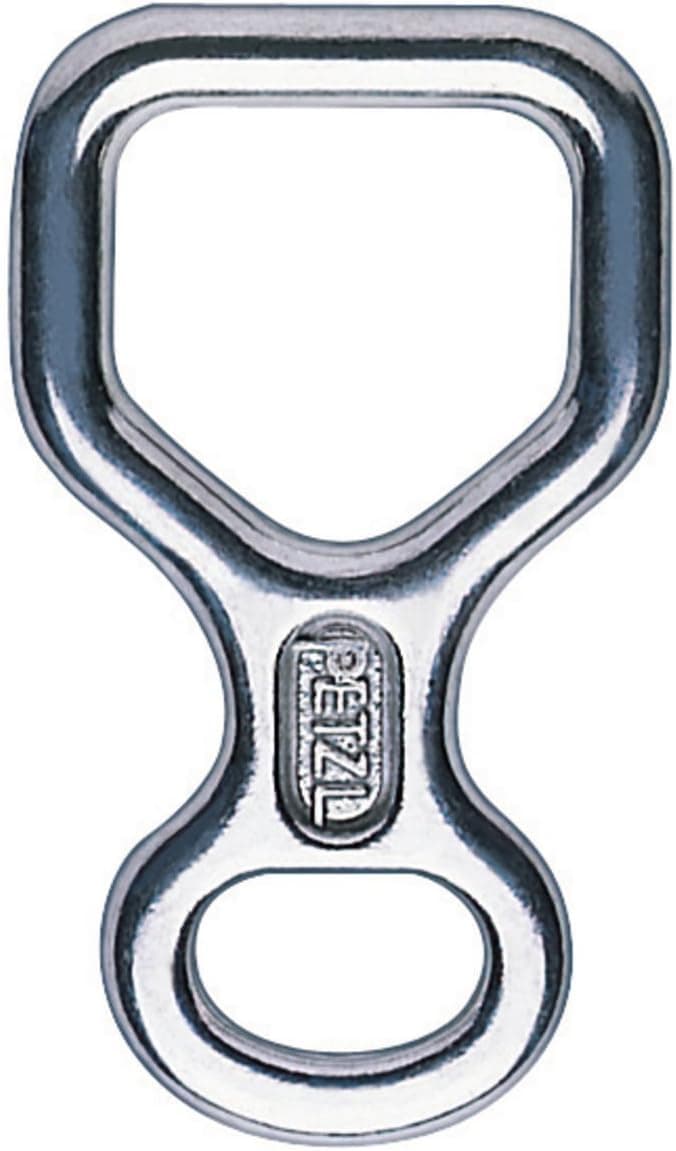
An autoblock is a friction hitch tied on the brake strands of a rappel, below the device and attached to your harness or leg loop. If you let go of the rope, the hitch grips and slows or stops your descent. It is one of the most common rappel backups, and it is taught in most courses because rappelling is a stage of climbing where a mistake can have serious consequences. An autoblock is not a magic fix, though. It can fail to grip, jam in the device, or be pulled into the device and become useless. This article explains how it works, how people commonly set it up, and what to practice with a qualified instructor before using it on a real descent.
Products from this article
The highest-scoring picks from the buying guides this article links to. Scores are our editorial assessment, not customer ratings.
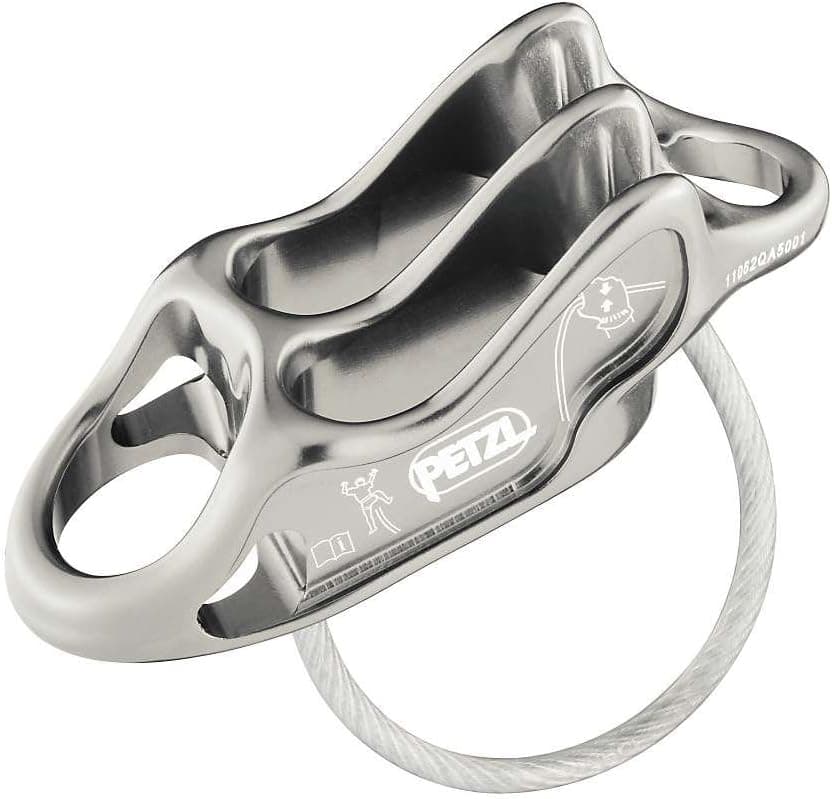
+ Doubles as a belay and rappel device, saving weight on long routes
From our guide: Best Rappel Devices
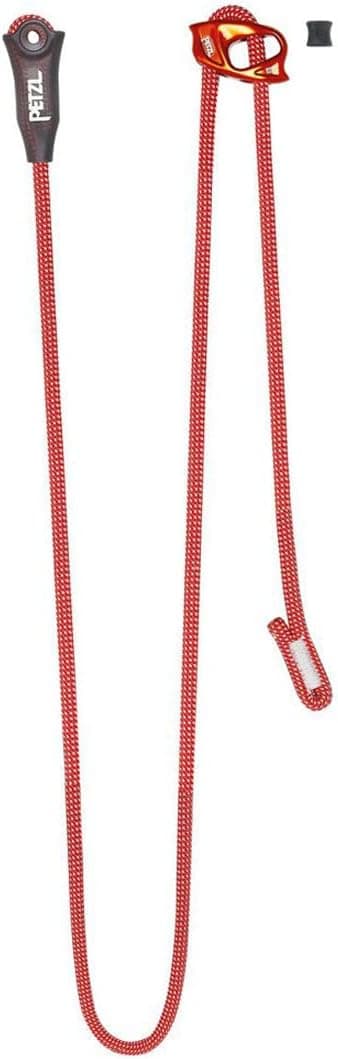
+ Two adjustable arms let you clip two points while moving between anchors
From our guide: Best Personal Anchor Systems
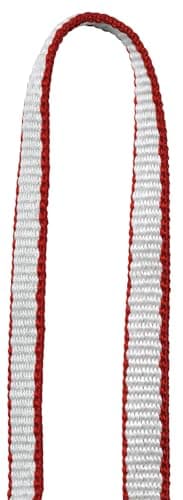
+ Dyneema and nylon blend webbing in a slim 12 mm width, described as lighter and more supple than traditional nylon runners
From our guide: The Best Climbing Slings
+ Anti-burn grip keeps hands away from hot metal on long rappels
From our guide: Best Rappel Devices
What an autoblock does
On a rappel, your brake hand controls the speed of descent by squeezing the rope below the device. If you lose control, for example because of a rock strike, a slip, or a panicked grip, you can fall. An autoblock is a short loop of cord wrapped around the brake strands that tightens when your hand lets go, grabbing the rope and holding your position.
Because it attaches to the rope below the device, the hitch is positioned between your hand and the device. When you hold it lightly, it slides and lets you descend. When you release it, friction grabs the rope. The hitch is a backup to your brake hand, and it works best alongside good technique, not instead of it.
Extending the device
Many climbers rappel with the device on an extension, a sling or cord that lets it sit a few inches away from the harness. This gives your brake hand more room and puts the autoblock below the device without bumping into it. Extending the device also helps prevent the hitch from being drawn up into the device by the movement of the rope.
An extension is not required for every setup, and some climbers prefer a short tether. The key is that the autoblock sits below the device and cannot be pulled into it. If there is any chance of the hitch touching the device, adjust the length until it does not.
Choosing cord and tying it
Autoblocks use accessory cord or a sewn loop, with a soft, flexible feel and a diameter noticeably thinner than the rope. Stiff or very thin cord can fail to grip or can be hard to release. A common version wraps the loop around both rope strands a few times and clips both ends of the loop to a leg loop or belay loop with a carabiner.
The number of wraps depends on the cord and the rope, and a typical teaching range is three or four. Too few wraps and the hitch slips, too many and it jams. Test it near the ground before every use, as conditions like wet or icy rope change how it behaves, and ask your instructor for the specific setup they recommend.
Where it goes wrong
The most common failure is the hitch being pulled up into the device and then locking the system, or bunching so that it cannot grab. A second problem is cord that is too long, so the hitch hangs too far below your hand and out of reach. A third is a hitch that fails to grip when the rope is thick, icy or slick.
Another danger is relying on the hitch as a permission slip to be sloppy. You still need to keep your brake hand on the rope, check your setup, and have a stopper knot in the end of the rope. If you notice the hitch jammed or acting strangely, stop and sort it out rather than forcing it.
Alternatives and complements
Some climbers use a third hand device or a dedicated knot like the Klemheist or French prusik instead of a basic autoblock, depending on the rope and the situation. Others rely on belay devices with built-in assistance, or have a partner belay the rappel from below with a fireman's belay. Each option has strengths and limits.
None of them substitutes for a stopper knot, a clear rappel plan and good communication. If your rappel goes wrong, you need time and options, and the backup is only one piece of that. A well-organized rappel is mostly about preparation.
Rappel safety habits
Before each rappel, check the anchor, check the rope is threaded correctly through the device, check that the rope reaches the ground or the next station, and tie stopper knots in the ends. Check your partner's setup as well. Many accidents on rappel involve a missed step rather than a failure of gear.
Take it slowly, avoid bouncing, and keep your weight smooth on the rope. If something feels off, stop, lock off, and reassess. Cold hands, tiredness and time pressure raise the risk, so build in more margin when conditions are not ideal.
Communicate with your partner at the top and bottom of every rappel. Agree on signals before the first person descends, because wind and distance often make voices hard to hear, and make sure the rope is clear before you commit your weight.
Learning it properly
A written explanation can only go so far. Take a course on rappelling and basic self-rescue from a guide service, climbing club or gym that offers outdoor skills. Practice on a low-angle slope with a backup system, where a mistake costs nothing. Learn to tie, test and release the hitch while you are weighted on the rope.
Always follow the manufacturer's guidance for the device and cord that you use, and keep up with changing practice, since recommended techniques evolve over time. A short refresher at the start of each season is a good habit.
Popular right now
- The Best Climbing Nuts and StoppersBuying guide
- Best Belay DevicesBuying guide
- Best Headlamps for ClimbersBuying guide
- Bouldering vs Rope ClimbingArticle
- Climbing Photography BasicsArticle
- The Best Climbing SalvesBuying guide
Based on the last 28 days of search and visitor data.